
The Linksys Velop Pro 6E is a powerful mesh wifi system, which is designed to deliver faster wifi speeds, lower latency, and broader coverage. These networking devices are a perfect choice for bandwidth-intensive operations. However, to harness its full potential, you must understand how to perform the Linksys Velop Pro 6E Setup. Therefore, in this guide, detailed instructions for setting up the Linksys Velop system are presented, ensuring optimal performance from the start. Let’s have a look at this guide!
What You’ll Need Before Linksys Velop Pro 6E Setup
Before diving into the Linksys Velop Pro 6E WiFi Mesh System initial setup, it is important to have everything ready for a smooth experience. Below are some main things you need for setting up your Velop mesh system without any hassle:
- Linksys Velop Pro 6E
- A stable internet connection
- Correct web/IP address
- Administrative details
- A smartphone with the Linksys app installed
- Ethernet cables, power adapter, etc.
How to Set Up the Linksys Velop Pro 6E WiFi Mesh System?
However, setting up this tri-band mesh wifi router is an excellent choice for your smart home. Moreover, the Linksys Velop Pro 6E Setup also enables complete anti-malware protection, basic parental controls, and solid wifi performance with 2.4GHz, 5GHz, and 6 GHz network bands. If you are interested in learning the Velop setup process, read the instructions given below:
- First of all, ensure that your smartphone has a stable Velop wifi network.
- Then, install the Linksys app on your smartphone.
- Now, open the app, and a Velop login screen appears.
- Hereon, enter your valid administrative details to log in.
- If you are a new user, first create an account to register your product and then log in.
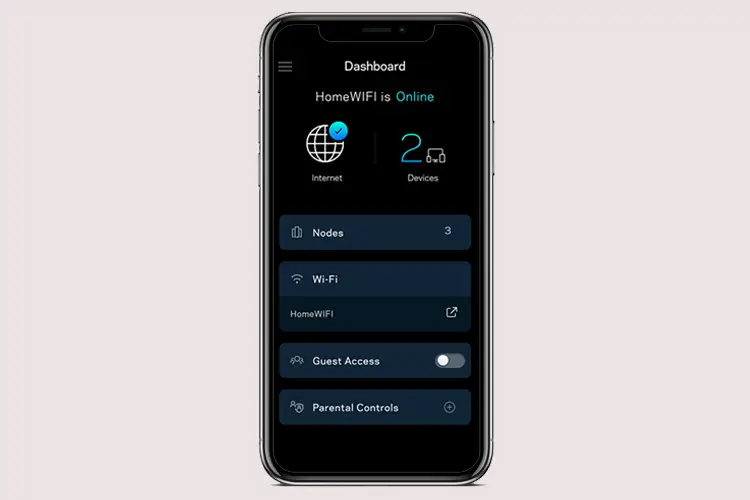
- Then, you reach the home dashboard of the Velop.
- Now, go to the three horizontal bars on the left-hand side of the screen.
- Hereon, add your device manually or scan the QR code to add your device to the app.
- Further, scroll down the menu and tap ‘Set up a new Product’.
- Now, choose your Velop model and configure the settings as per your preferences.
- Go to the WiFi Settings to change the default wifi SSID of the Velop system.
- Similarly, you can change the wifi password to ensure network security.
- Further, go to the Parental Controls, Guest Network, Network Administration, Advanced Settings, and set up accordingly.
- Finally, save all the changes, and the Velop setup ends here.
Bottom Line
ll in all, this blog post sums up the Linksys Velop Pro 6E Setup process, which is essential to ensure seamless connectivity throughout your home. However, this guide elaborates on the quick instructions to set up the basic and advanced settings on your networking device. By following the proper setup instructions mentioned in this guide, you can harness the full potential of your wifi signal.